Wreck Documentation Guidelines
By photographing wrecks, divers contribute to increasing knowledge about underwater cultural heritage and enhancing the content of the ancient monument register maintained by the Finnish Heritage Agency. Documenting wrecks through photography is a non-invasive method that doesn't require a research permit from the Finnish Heritage Agency, even for protected wrecks under the Antiquities Act (295/1963). A research permit is necessary when photography could potentially cause changes to a protected wreck site, such as attaching or setting up lights or other equipment within an ancient monument area.
Photographic material can provide valuable insights into the type, dating, and purpose of the vessel. It can also be useful for monitoring the condition of wrecks over time. The following guidelines can be followed to a suitable extent:
Photogrammetry
Photographic material can be used for creating 3D models of wrecks using photogrammetry. Photogrammetry is highly accurate, visual, and efficient, making it increasingly popular for documenting wrecks recently.
General Guidelines
Photographing wrecks for photogrammetric 3D modeling differs somewhat from regular wreck photography. The key principles for photography for 3D modeling are outlined below. Following these guidelines can facilitate 3D model creation and likely improve the quality and accuracy of the final model. While not all recommendations can always be followed literally, creative solutions might be needed to find the best possible approach.
Capture the subject as perpendicularly as possible. Photographing at a right angle improves the model quality and simplifies modeling.
Ensure adequate overlap (around 70-80%) between adjacent images. Sufficient overlap is particularly crucial for still photography.
Utilize as much of the image area as possible to capture the subject.
Photograph from a close distance. In poor visibility, image quality deteriorates rapidly as the distance increases.
Keep the photographed subject as stable as possible during the shooting process. For instance, scale bars should remain in place until the wreck or its part is fully captured.
Plan the diving routes and shooting strategy in advance. Systematic documentation makes modeling easier.
Thoroughly photograph parts of the wreck that emerge, such as the ends of frames, from all angles.
Scale
Scale is crucial information for interpreting and using a 3D model. Therefore, it's advisable to place a scale bar on the subject before shooting. In principle, even one scale bar is sufficient for establishing the scale of the 3D model. Depending on the nature of the subject, 2-4 scale bars are generally recommended. Using multiple scale bars can be beneficial, especially for assessing the model's accuracy and in case of troubleshooting.
Position the scale bar on the subject in a way that doesn't obstruct the view of the subject. The scale is often placed next to the subject or, for example, on the deck of the wreck. The scale bar should be placed on a flat surface to avoid any empty space between the scale and the surface.
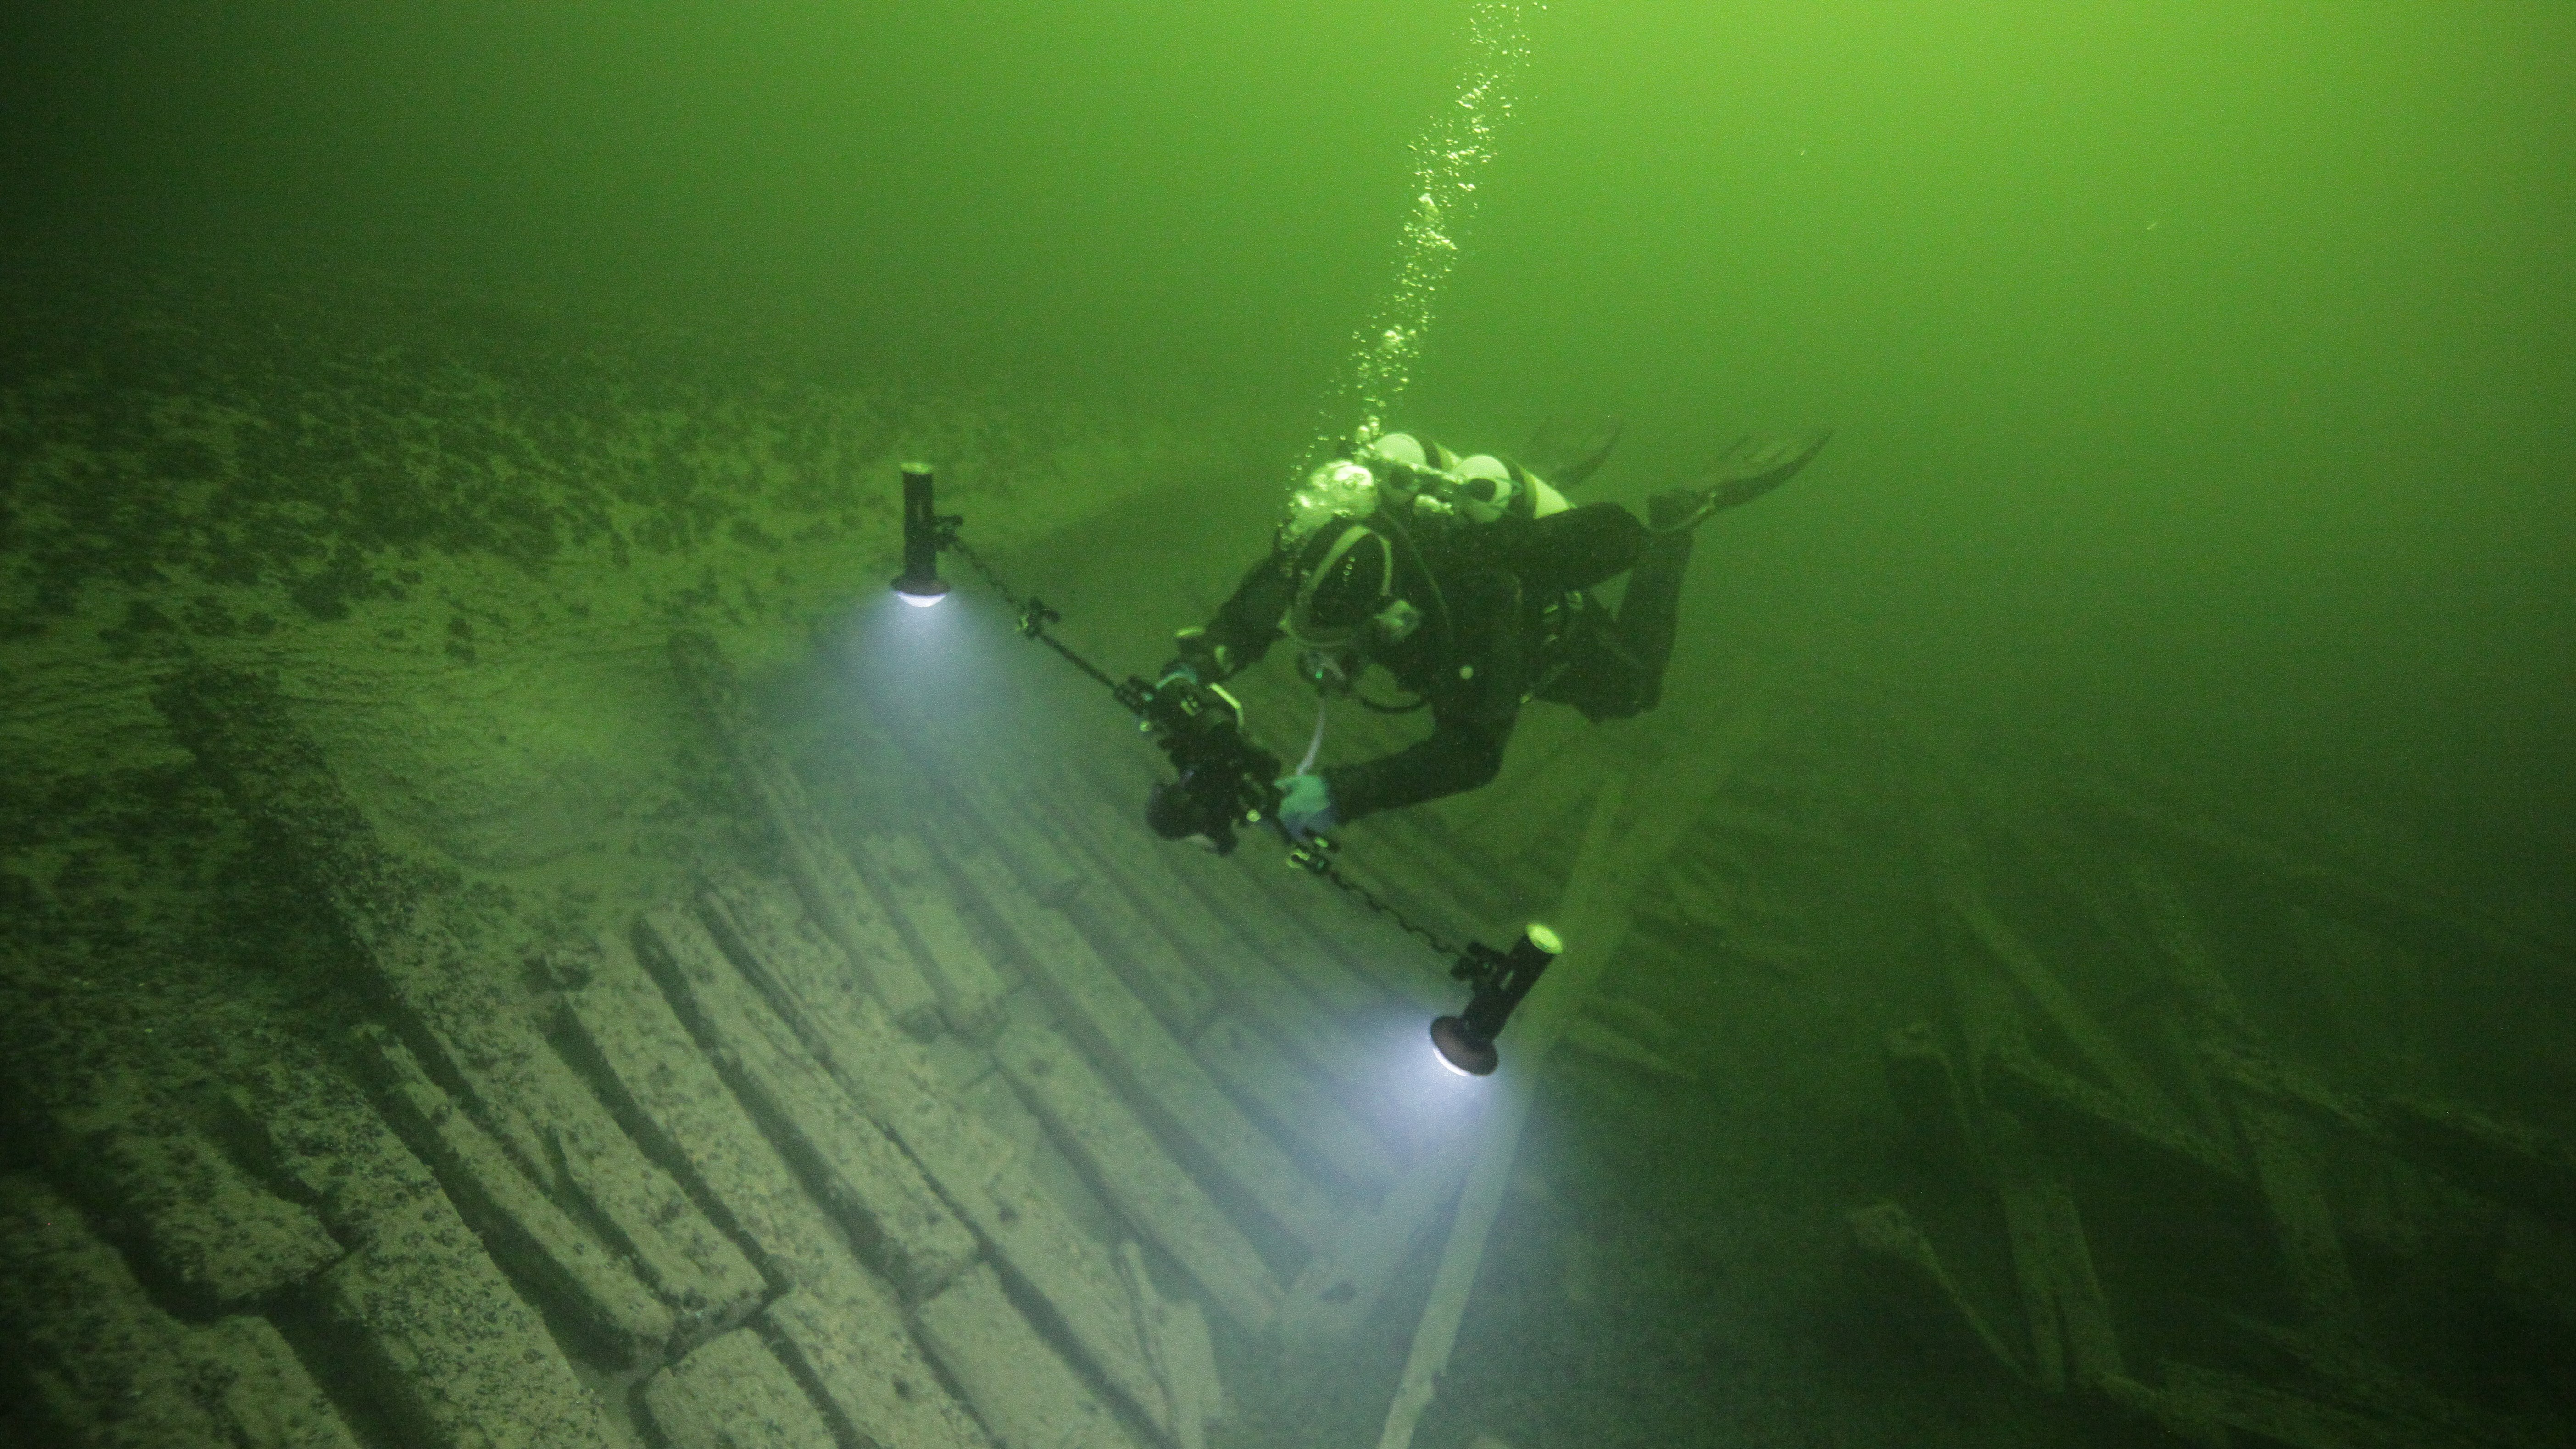
Lighting
Good lighting is crucial for successful photogrammetry. The goal of lighting is to achieve even lighting across the entire image area without strong shadows or scattering from particles in the water. It's usually recommended to use separate lighting equipment. Capturing and illuminating the subject are often best achieved through collaboration. One diver can be responsible for capturing the subject while others handle the lighting. In very shallow water, natural light can also be used effectively.
Shooting Style and Image Quality
Both video and still image materials can be used for photogrammetry. Video recording is commonly used for underwater documentation. Video recording offers advantages like speed and the possibility to capture needed frames from the video afterward. Still images, on the other hand, offer better image quality and resolution. When capturing still images, ensure a sufficient quantity and overlap of images.
Regardless of the shooting method, choose the best possible image quality for photogrammetry. When recording video, select the highest available resolution and progressive, non-interlaced format. You can identify the progressive format by the "p" letter in the name (e.g., 3840 x 2160 30p). Still images are best captured in RAW format, which offers superior post-processing capabilities compared to other formats. When using other formats, prioritize the highest resolution and image quality.
Video Recording
Video recording is one of the most illustrative methods for documenting wrecks. In demanding conditions, it's beneficial to have another diver as a partner providing illumination for the area being recorded. When capturing the subject for the first time, it's advisable to proceed in a logical route from one end of the subject to the other, capturing the entire wreck from both starboard and port sides, as well as from the deck level. When multiple recordings are made, using the same chosen route each time is recommended. While wrecks contain many interesting details, it's best to return to those after capturing the overall view.
Calmness and systematic approach are crucial for video recording. Even with a filming rate of 1m/10sec, one can cover the entire length of a 60-meter ship's side in ten minutes. Stay slightly away from the subject while recording; a wider field of view helps in understanding the whole picture. It's recommended to use as wide an angle as the camera and visibility allow. When recording proceeds steadily and evenly, the collected video material can provide a complete image of the wreck, and a 3D model of the wreck can be produced using photogrammetry.
From the viewer's perspective, it's best to focus on one thing at a time. For example, it's better to complete recording the bow frame or the railing line before moving on to other interesting details. Straying from the initial recording line makes it more difficult for viewers to understand the image and the context. If possible, it's good to have a scale bar visible in the image, e.g., with a 10 cm scale.
Photography
Using a still camera is particularly suitable for capturing object and detail images. The same principles as for video recording can be followed when photographing. Select and plan angles and points carefully. Creating a simple sketch of the wreck, marking the positions and directions of detail shots, can help interpret the photographic material.
If both video and still photographers are in the same diving group, it's advisable to divide the work so that the video photographer aims for an overall view of the wreck, while the still photographer focuses on object and detail shots.
Tips for Lighting and Video Recording
Recording an Intact Wreck
In an intact wreck, ship parts are easily recognizable, making it easier to plan and execute the recording. The following points should be captured:
Hull
Capture the bow and stern frames from top to bottom, not directly from the front but diagonally to show a portion of the hull.
Photograph other structures on the bow and stern (figurehead, frame beams, knees, transom, loading hatches, etc.).
Take side profile shots of the bow and stern to clearly depict their shapes.
Photograph the hull's exterior along the gunwale, ensuring as much of the ship's side is visible as possible. Capture details, such as rusted parts, by momentarily stopping to photograph them up close before proceeding. For close-ups, it's better to move the camera closer to the subject rather than using zoom. If you need to deviate from the route, choose easily recognizable features, such as bitts, to return to before continuing the recording.
Deck
Photograph the deck continuously from bow to stern or vice versa. The purpose is to gain an understanding of the deck's layout, which reveals much about the ship's purpose. A good perspective is diagonal from above.
Capture details on the deck, including anchor winches, hatches, openings, skylights, deck structures, pumps, bitts, capstans, steering mechanisms, etc. The relative positions of these elements should be evident from the photographic material.
Mast
Especially in wrecks from the 1700s to 1800s, the mast can provide crucial information for determining the ship's type.
Systematically photograph mast components from end to end, showing the shape of end sections and any notches or holes (otherwise distinguishing the mast from the yard and the yard from the gaff might be impossible).
For an overall view, photograph all mast components (ideally all the round timbers in the wreck and its immediate surroundings).
If there are parts detached from the wreck on the seabed around the hull, photograph them as comprehensively as possible.
Recording a Dispersed Wreck
A dispersed wreck is naturally a more challenging subject to capture than an intact one, requiring more preparatory dives and planning. It might be difficult to locate and identify structural features that could guide your recording. Whenever possible, follow the guidelines for intact wreck recording. Otherwise, follow these steps:
Capture intact structural elements whenever possible. If not, follow knee lines, beam supports, deck beams, or similar elements that indicate the shape and extent of the find.
Photograph overlapping parts from end to end before moving on to the next part. Detached parts are easier to photograph, but they generally provide less information about the ship compared to connected structural components.
Artifacts
Wrecks can contain various artifacts, such as ship equipment, weaponry, navigational instruments, tools, personal belongings of the crew, cargo, etc. In younger wrecks, artifacts usually don't significantly aid in determining the wreck's age, but for older wrecks, it's different. Artifacts can accurately date a wreck or provide significant information. It's worth considering how much time to allocate to photographing artifacts. Here are a few examples:
Anchors, grappling hooks, and pulleys: These only need to be visible in general shots, as close-ups usually don't reveal much more information. For instance, grappling hooks had the same appearance for 500-600 years.
Bricks can indicate that the wreck is from the medieval period or later. For bricks, it's sufficient to show them in general shots. Only uniquely shaped bricks (profiled bricks) might provide more information, so it's worth taking close-ups. Even ordinary bricks might have stamps that can shed light on the mystery of the wreck.
Clay pipes can indicate that the wreck is from the late 1500s or later. Pipe shapes can provide more specific dating, making close-up images useful.
The shape of glass bottles provides a rough date, making close-up images helpful.
Ceramic and porcelain objects and vessels can accurately date a wreck, as changes in style and decoration occurred at short intervals. With a good close-up image, the wreck might be precisely dated.
Even for artifacts that aid in dating, it's important not to remove them from the wreck without permission from the Finnish Heritage Agency. Artifact retrieval requires a permit from the agency, and procedures must be agreed upon in advance. Artifact retrieval entails documentation, reporting, and arranging professional conservation. Without conservation, objects that have been underwater for a long time won't survive.